
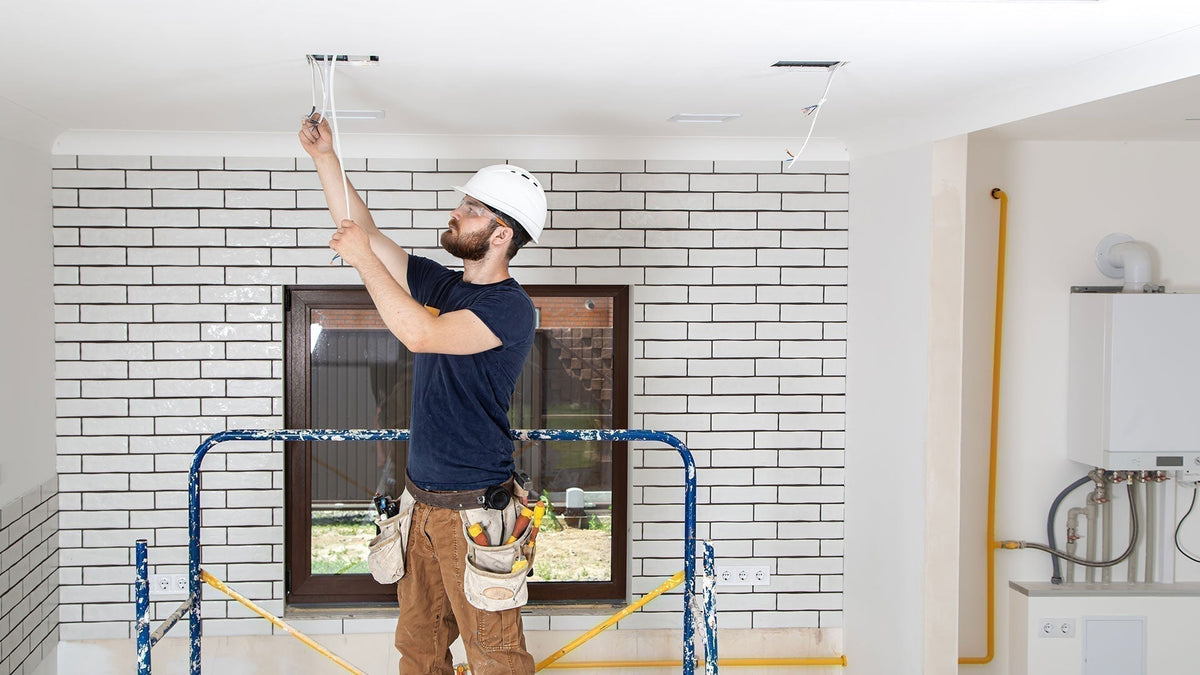
A fan that is installed correctly performs better, runs more quietly, lasts longer, and stays safe over time. A fan that is installed incorrectly can wobble, hum, lose airflow, or even fall.
Installation does not have to be complicated, but it does require attention to mounting height, electrical setup, and proper hardware. Some installations are well-suited to DIY, while others should be handled by an electrician.

Pre-Installation Planning
Before any fan goes up, several questions should be answered:
- Is there an existing electrical box rated for a ceiling fan?
- What is the ceiling height?
- What type of ceiling is it: flat, sloped, vaulted, or beamed?
- Is the fan rated for the space (dry, damp, or wet)?
- Is there a wall switch, pull chain, or remote control planned?
- Is there a circuit and breaker that can support the fan?
A standard ceiling electrical box may not be rated to support a fan's weight or motion. Fan-rated boxes are designed to handle the additional load. If a standard box is in place, it should be replaced before installation.
How Do You Install a Ceiling Fan?
Installing a ceiling fan involves five basic steps. First, turn off the breaker and confirm a fan-rated electrical box is in place using a voltage tester. Second, attach the mounting bracket to the electrical box according to the manufacturer's instructions. Third, hang the motor housing from the bracket using the downrod for standard installations, or directly for flush-mount installations. Fourth, connect the wires (typically black-to-black for power, white-to-white for neutral, ground-to-ground, and blue to the light kit hot wire if applicable). Fifth, attach the blades and any light kit components last to keep them out of the way during wiring. Most ceiling fan installations take 1 to 3 hours for a homeowner with basic electrical experience.
Mounting Heights and Clearances
Ceiling fans need enough clearance to operate safely and effectively.
General mounting guidelines:
- Blades should sit at least 7 feet above the floor for safety
- Blades should be at least 8 to 10 inches below the ceiling for optimal airflow
- Outdoor fans should have at least 10 feet of vertical clearance for taller spaces and weather considerations
- Blade tips should be at least 18 to 24 inches from walls or sloped surfaces
For most homes with 8-foot ceilings, a flush-mount or hugger fan is the most appropriate option. For ceilings 9 feet and taller, a downrod is typically used to lower the fan to an effective height.
|
Ceiling Height |
Recommended Mounting |
|---|---|
|
8 ft |
Flush mount or low-profile fan |
|
9 ft |
6 in. downrod |
|
10 ft |
12 in. downrod |
|
12 ft |
24 in. downrod |
|
14 ft |
36 in. downrod |
|
16+ ft |
48 in. or longer downrod |
How High Should a Ceiling Fan Be?
A ceiling fan should be mounted with its blades at least 7 feet above the floor for safety. The recommended ceiling fan mounting height depends on the room's ceiling height: the downrod chart in this section maps specific downrod lengths to ceilings from 8 to 16+ feet. In rooms with vaulted or cathedral ceilings, the fan should be positioned at the same effective height as it would in a standard room (typically 8 to 9 feet above the floor) even if the ceiling above continues much higher. This is why long downrods and sloped ceiling adapters are required in these spaces; without them, a fan mounted at the ceiling's peak would be too far from occupants to deliver useful airflow.
What Size Downrod Do I Need?
The right downrod length keeps the fan blades 8 to 10 inches below the ceiling for optimal airflow. The downrod chart above lists specific lengths by ceiling height. Choosing the wrong downrod length has real performance consequences: mounting a fan too close to the ceiling reduces airflow significantly because the blades cannot pull enough air across them, while a downrod that is too long puts the blades too close to head height in rooms with average ceilings.
Mounting Types
Fans use several different mounting styles depending on the ceiling and the fan itself.
Flush Mount (Hugger)
Flush-mount fans sit close to the ceiling. They are best for ceilings under 8 feet or in rooms where headroom is limited. Flush mounts may move slightly less air than downrod-mounted fans because they sit closer to the ceiling.
Standard Downrod Mount
The most common ceiling fan installation. The fan hangs from a downrod attached to the ceiling, allowing the blades to sit at an optimal distance below the ceiling.
Sloped or Angled Ceiling Mount
Vaulted, cathedral, or beamed ceilings often require a specialty mounting bracket that allows the fan to hang straight down while the ceiling above it is angled. Most major fan brands offer compatible sloped ceiling adapters.
Wall Mount
Wall-mount fans are installed on a flat wall surface using mounting brackets. They are common in garages, workshops, gyms, and commercial spaces where floor and ceiling space are limited.
Floor and Pedestal
These fans do not require installation in the traditional sense but should be placed on a stable surface, with cords routed safely away from foot traffic. Some wall-mount fans can also be converted into pedestal-style use with the right accessories.
Electrical Considerations
Most ceiling fans run on standard household 120-volt circuits. Industrial and commercial fans, especially larger HVLS models, may require 220 or 240 volts.
When wiring a fan:
- Always turn off the breaker before working with the wiring
- Use a fan-rated electrical box
- Match the wire colors (black to black, white to white, ground to ground)
- Secure all connections with wire nuts or push-in connectors
- Confirm any switch or remote works properly before mounting the blades
Fans with light kits will have an extra wire (usually blue) that connects to the same hot wire or a separate switch leg if independent control is desired. ENERGY STAR certified ceiling fans include wiring diagrams that comply with current electrical code, and the installation manuals usually note the minimum amperage circuit required.
For outdoor ceiling fan installation, weatherproof junction boxes, conduit, and GFCI protection are typically required by code.
DIY vs Professional Installation
Many ceiling fan replacements can be safely done by a confident homeowner, especially when replacing an existing fan or light fixture. New installations, sloped ceiling installations, and high-ceiling installations are more challenging.
Hiring a professional is recommended when:
- There is no existing electrical box where the fan will go
- A new circuit or switch needs to be installed
- The ceiling is higher than 12 feet
- The wiring inside the ceiling is older or damaged
- A whole-house fan, attic fan, or commercial fan is being installed
- Permits are required in your area
For commercial and industrial fans, professional installation is usually the safer choice because of the size, weight, and electrical requirements involved.
Typical installation costs:
|
Installation Type |
Typical Cost |
|---|---|
|
Ceiling fan replacement |
$100–$250 |
|
New ceiling fan with existing wiring |
$150–$350 |
|
New ceiling fan, no existing wiring |
$300–$700 |
|
Sloped ceiling installation |
$200–$400 |
|
Outdoor or wet-rated installation |
$250–$500 |
|
Commercial or HVLS installation |
$500–$3,000+ |
Costs vary widely based on location, ceiling height, electrical complexity, and local labor rates.
Can I Install a Ceiling Fan Myself?
Yes, you can install a ceiling fan yourself if you have basic electrical experience and are replacing an existing fan or light fixture in a room with standard 8 to 10 foot ceilings. The job becomes more challenging and a professional electrician is usually the safer choice when there is no existing electrical box, the ceiling is over 12 feet, the room has a sloped or vaulted ceiling that requires an angled adapter, or new circuit wiring needs to be added. Whether you need an electrician depends mostly on what is already in the ceiling, not on the fan itself, which is why ceiling fan replacement is usually DIY-friendly while a brand-new installation often requires professional help.
How Much Does Ceiling Fan Installation Cost?
Ceiling fan installation cost varies based on three main factors: whether the existing wiring can be reused, whether the ceiling height or shape requires extra equipment, and whether the installation is indoor, outdoor, or commercial. The fan installation cost table above shows typical price ranges by installation type. Regional labor rates also significantly impact costs, with urban markets often 30 to 50 percent higher than rural areas. The cheapest path is replacing an existing ceiling fan in a room with current wiring, while the most expensive scenario is a new commercial or HVLS installation in a high-ceiling space that requires structural reinforcement and dedicated wiring.
Wall-Mounted and Industrial Fan Installation
Wall-mounted fans typically come with mounting brackets that attach to studs or block walls. Key considerations include:
- Confirming the wall can support the fan's weight
- Mounting at a height that maximizes airflow without creating overhead hazards
- Routing the power cord safely to a grounded outlet
- Tilting the fan head to direct airflow where it is needed
Industrial and HVLS fans often require ceiling structural support beyond a typical electrical box. Many manufacturers specify joist or beam mounting requirements that must be followed for safety.

How Do You Install a Wall-Mounted Fan?
To install a wall-mounted fan, first locate a wall stud or use a backing board on block walls to support the fan's weight, then attach the fan mounting bracket using lag bolts or appropriate masonry fasteners. The wall mount fan installation typically uses a swivel-style bracket that allows the fan head to tilt up, down, and side to side after the fan is in place. Power can come from a grounded outlet with a heavy-duty extension cord for portable installations, or from a hardwired connection for permanent ones. Mount the fan high enough that the lowest point of the blade rotation sits at least 7 feet above the floor, with at least 18 inches of clearance from any side wall or obstruction.
Common Installation Mistakes
A few common installation mistakes lead to most fan problems:
- Using a non-fan-rated electrical box
- Mounting blades too close to the ceiling
- Mounting blades too close to walls
- Skipping balance checks after installation
- Installing dry-rated fans in damp or wet locations
- Overloading a circuit with too many devices
- Using the wrong downrod length for the ceiling height
- Skipping the manufacturer's mounting instructions
Most of these can be avoided by following the manufacturer's instructions and verifying clearances before mounting.
A Good Installation Pays for Itself
A fan that is installed correctly runs smoothly, lasts longer, and stays safe for years. Skipping steps to save time often leads to wobbling, noise, premature wear, or costly rework.
For most rooms, careful planning and proper hardware are more important than fancy tools.